Kitchen Island Out of a Bookcase?
The hubs and I have had a disagreement on the table serving as our kitchen island. He wanted it gone. Said it made the room too crowded. I wanted it there because while it wasn't the ideal size, it gave me some needed counter because the area under the window (which is my largest stretch of counter), acts as Brian's docking station when he's home. We were at a stand-off because I had said, "When you find a new place to work on your computer, the island can go."
All that changed the day we took a bookcase out of Chandler's room to make room for the art table. We tried it in the kitchen. It was too high and the shelves would have to be reconfigured, but it was a solid piece of furniture that was free. So I drew a sketch of what I wanted (shelves-wise) and Brian got to work. I wanted a shelf for the kids' lunch boxes and a spot for the cat's food and water. I also wanted the recycling basket to stay in the kitchen, so the island had to house that.
Brian removed the shelves and built in just the shelves I wanted. I was pretty impressed and after I caulked all the gaps, and painted it. We used the paint from our front door project because once you find a grey you like, you don't mess with it!
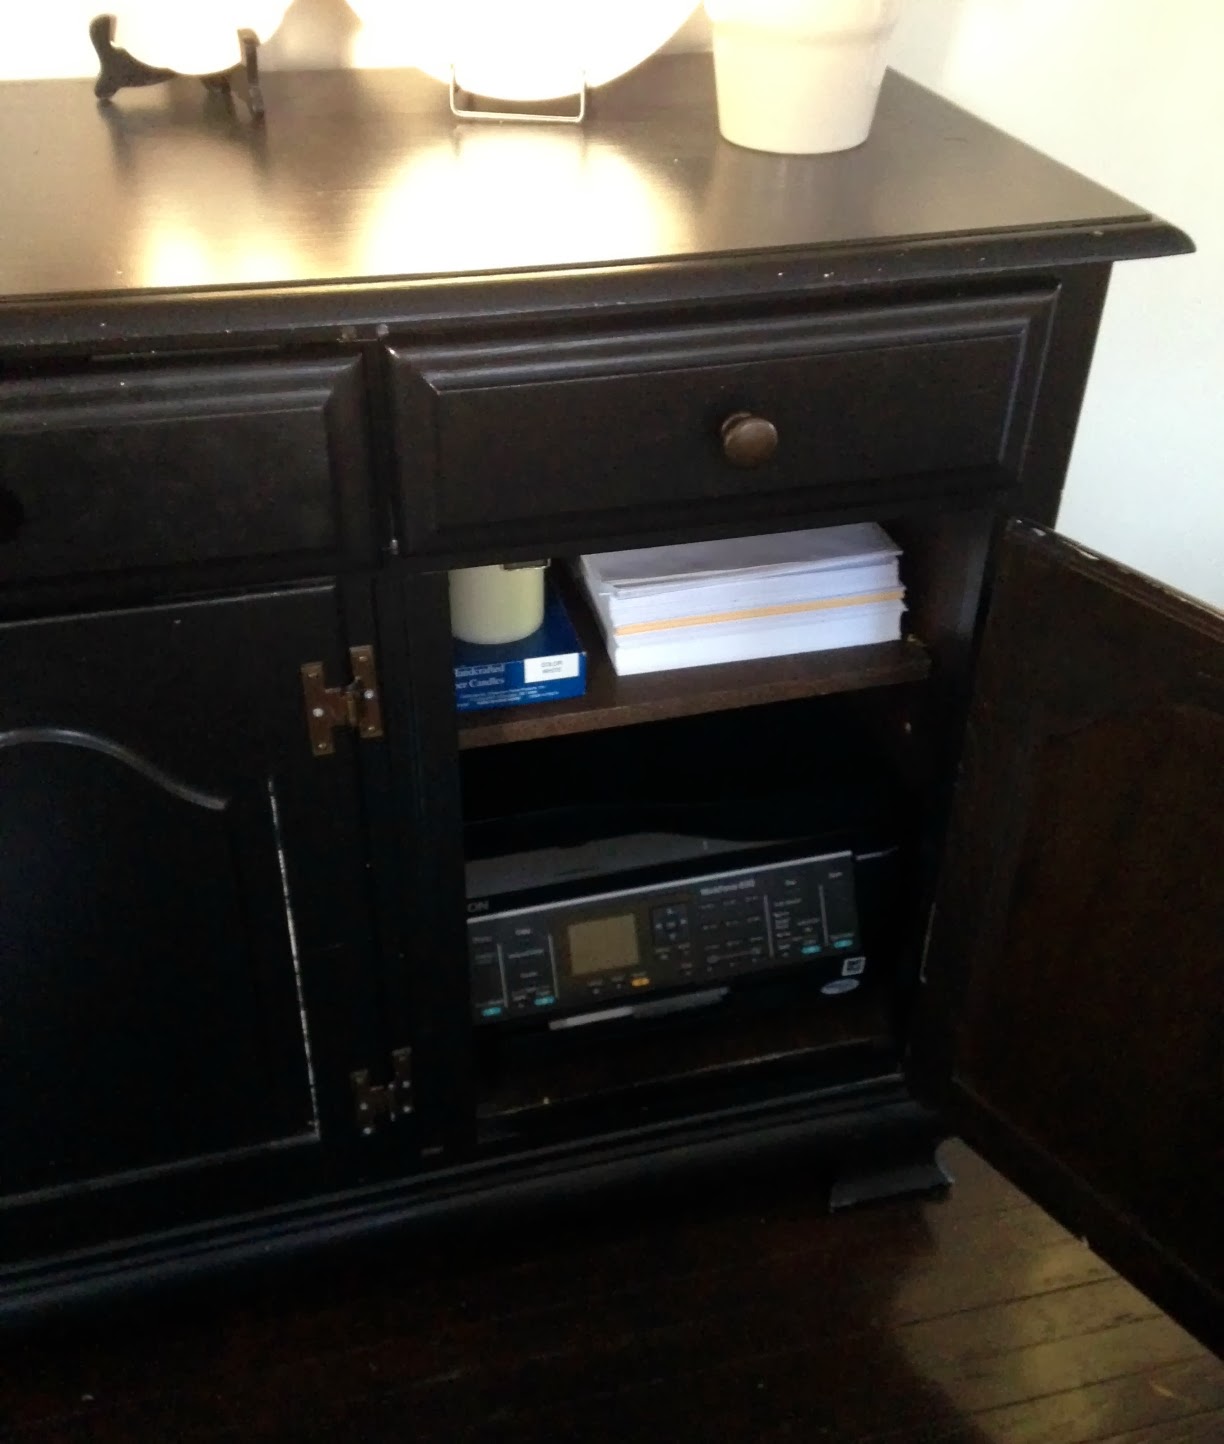
Here's how the bookcase looked before the makeover:

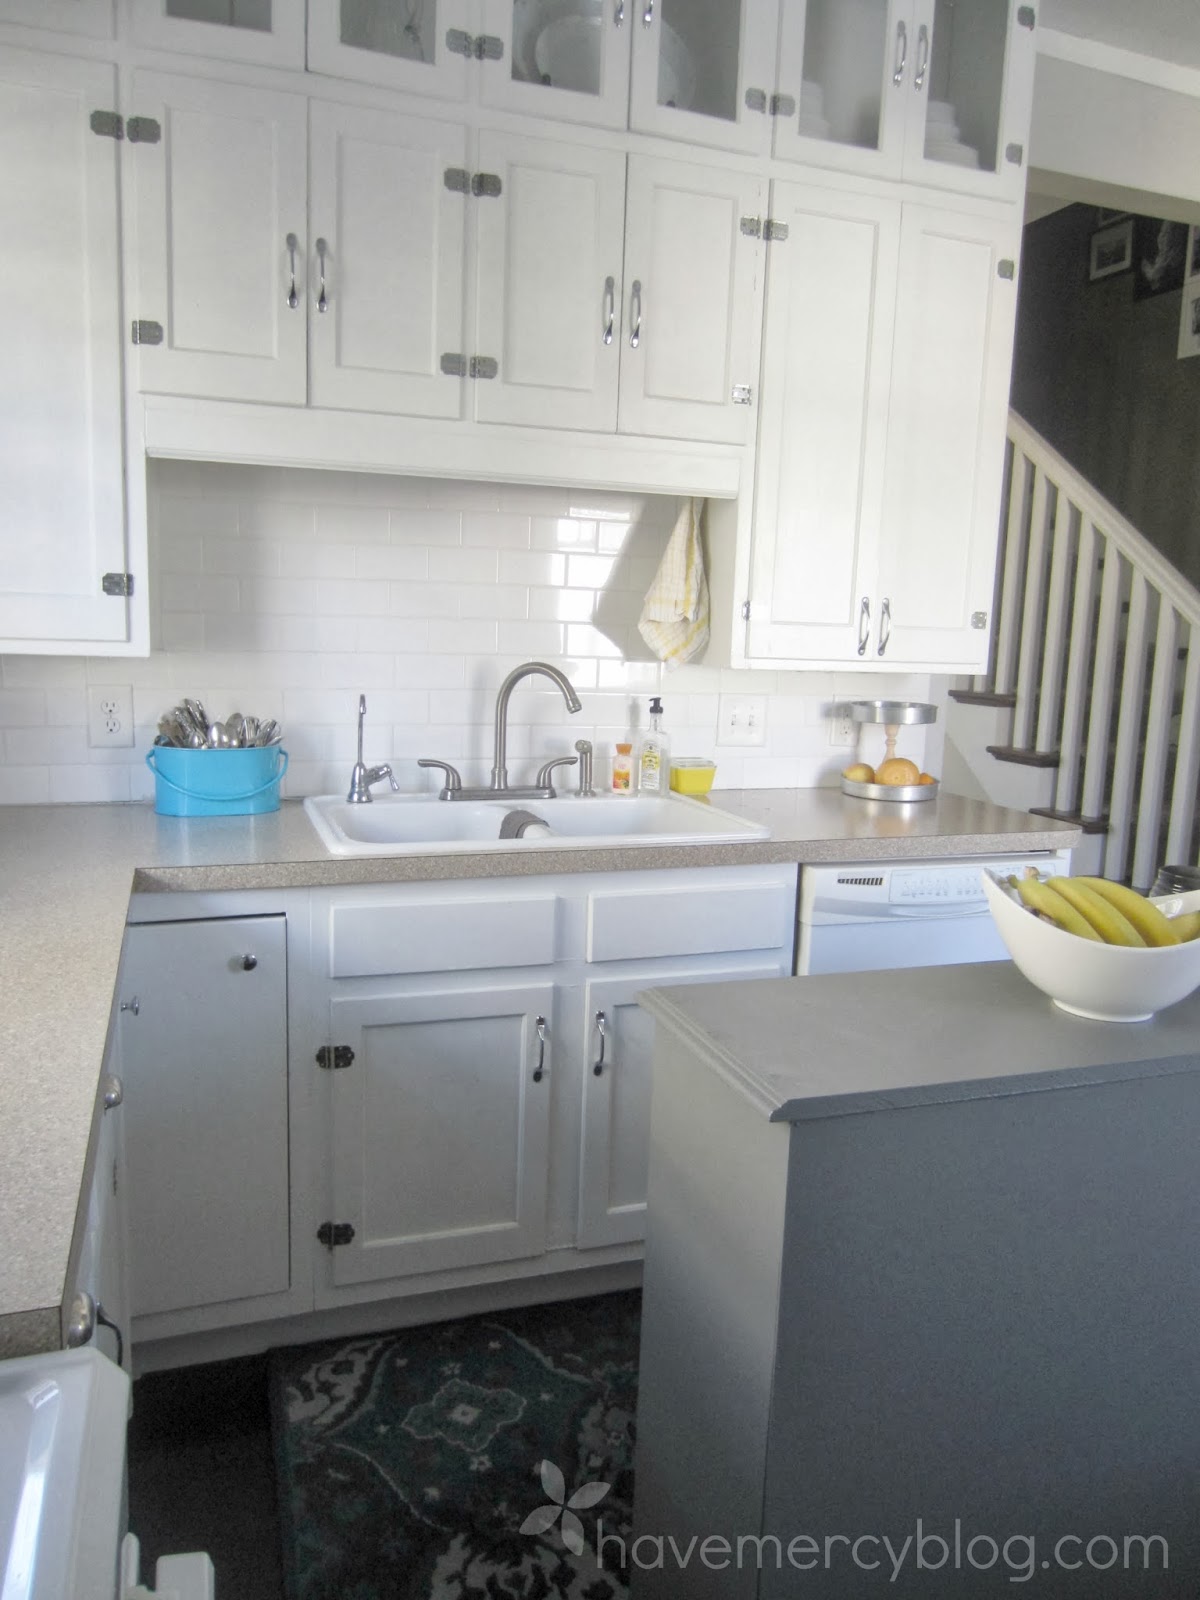
And here it is after, in its new peacemaking role:

Isn't that nifty?? I'm in love with my husband for working outside his comfort zone to make my dreams come true for next to nothing. We only had to buy some thin particle board(?) to make a backing. The caulk was left over from when we renovated our house. And don't underestimate this step. It does wonders. If you have a project with gaps and irregularities because you too, are human, fill them with white, paintable caulk. It's so worth the extra step! Our shelf looks quite finished and not too "handmade" now.

The lowest cubby holds the cat food and water, with a place mat under it. One of my favorite things about this new island is we never bump Leo's dishes anymore. There was constant worrying (on my part) about the spillage of water on our wood floors. His lapping itself makes tiny-dog-worthy splatters just past his bowl. When he's really naughty, he'll paw in the water. No more, sir. Try spilling on the floors now!
The second cubby holds lunch boxes, which the kids put away when they first get home from school. It's such a relief because they are not cute on the counter and we don't have a lot of extra counter space to dedicate to them. Also, when it's time to make lunches, we know just where they are. The top cubby holds aprons and baking supplies that used to be out in the buffet in the dining room. My grand scheme in all this was to free up space for my big, ugly, black, wireless printer. It had been down in our guest room because it was a school room and I used it to make copies. But with home school over, it's not handy at all. Many, many times, I'd run down to grab a coupon I'd sent to print, only to realize I'd not clicked the final print button. Much stomping back up the stairs. All it took was Brian drilling a hole in the back for the plug and bam! Easy, breezy printing.
But back to the kitchen. This island is much narrower than the table we had before and so far, I haven't heard any complaining...He probably still prefers it "open" but at least we can pass each other at any place in the kitchen!

Next I'll show you a few accessories I'm tickled about. First, this tiny green spatula from a Favorite Things party I went to around Christmas. Such a fun idea! Everyone brings five things they love ($3 or less each) and exchange. In the pictures that follow, you'll see I found a friend for my green colander and lemony soap because I felt the room needed more yellow.


The accessory that took the most hunting and waiting and looking (and even buying and shipping back) was the rug. My space required an odd size and I wanted something to anchor the room's zany brights. I decided on navy, but not navy contrasted with white. It got tedious. At last, I found this gem on domino.com.


It was a size that would work and I feel like it adds an element of surprise to the space because it's a little traditional. It was about $80 and domino had a special going where orders over $100 got $20 off. So I ordered turkey feet place card holders for almost nothing! Weird, huh? But I'm planning to prop some art in them rather than place cards. For larger pieces, I'll use two and I think the feet will add that animal whimsy I've been longing for. Haven't made much progress on that front, but I've got the chicken. We'll always have that...
Have you gone from a bumbling kitchen to a functioning one? How'd you do it? This made mind miles better!

Brian removed the shelves and built in just the shelves I wanted. I was pretty impressed and after I caulked all the gaps, and painted it. We used the paint from our front door project because once you find a grey you like, you don't mess with it!
Here's how the bookcase looked before the makeover:
And here it is after, in its new peacemaking role:
Isn't that nifty?? I'm in love with my husband for working outside his comfort zone to make my dreams come true for next to nothing. We only had to buy some thin particle board(?) to make a backing. The caulk was left over from when we renovated our house. And don't underestimate this step. It does wonders. If you have a project with gaps and irregularities because you too, are human, fill them with white, paintable caulk. It's so worth the extra step! Our shelf looks quite finished and not too "handmade" now.
The lowest cubby holds the cat food and water, with a place mat under it. One of my favorite things about this new island is we never bump Leo's dishes anymore. There was constant worrying (on my part) about the spillage of water on our wood floors. His lapping itself makes tiny-dog-worthy splatters just past his bowl. When he's really naughty, he'll paw in the water. No more, sir. Try spilling on the floors now!
The second cubby holds lunch boxes, which the kids put away when they first get home from school. It's such a relief because they are not cute on the counter and we don't have a lot of extra counter space to dedicate to them. Also, when it's time to make lunches, we know just where they are. The top cubby holds aprons and baking supplies that used to be out in the buffet in the dining room. My grand scheme in all this was to free up space for my big, ugly, black, wireless printer. It had been down in our guest room because it was a school room and I used it to make copies. But with home school over, it's not handy at all. Many, many times, I'd run down to grab a coupon I'd sent to print, only to realize I'd not clicked the final print button. Much stomping back up the stairs. All it took was Brian drilling a hole in the back for the plug and bam! Easy, breezy printing.
But back to the kitchen. This island is much narrower than the table we had before and so far, I haven't heard any complaining...He probably still prefers it "open" but at least we can pass each other at any place in the kitchen!
Next I'll show you a few accessories I'm tickled about. First, this tiny green spatula from a Favorite Things party I went to around Christmas. Such a fun idea! Everyone brings five things they love ($3 or less each) and exchange. In the pictures that follow, you'll see I found a friend for my green colander and lemony soap because I felt the room needed more yellow.
The accessory that took the most hunting and waiting and looking (and even buying and shipping back) was the rug. My space required an odd size and I wanted something to anchor the room's zany brights. I decided on navy, but not navy contrasted with white. It got tedious. At last, I found this gem on domino.com.
It was a size that would work and I feel like it adds an element of surprise to the space because it's a little traditional. It was about $80 and domino had a special going where orders over $100 got $20 off. So I ordered turkey feet place card holders for almost nothing! Weird, huh? But I'm planning to prop some art in them rather than place cards. For larger pieces, I'll use two and I think the feet will add that animal whimsy I've been longing for. Haven't made much progress on that front, but I've got the chicken. We'll always have that...
Have you gone from a bumbling kitchen to a functioning one? How'd you do it? This made mind miles better!


you have a cute home
ReplyDeleteThank you, Jessica! I'm doing a tour now of the INSIDES of my house to show what kind of minimalism/organization I've got going on. :)
Delete