DIY: Flower Necklace
I was thinking it's been a while since we've done a do it yo-self project around here. And if you're not sure how to pronounce that, you have to see this. Either way, you have to see it.
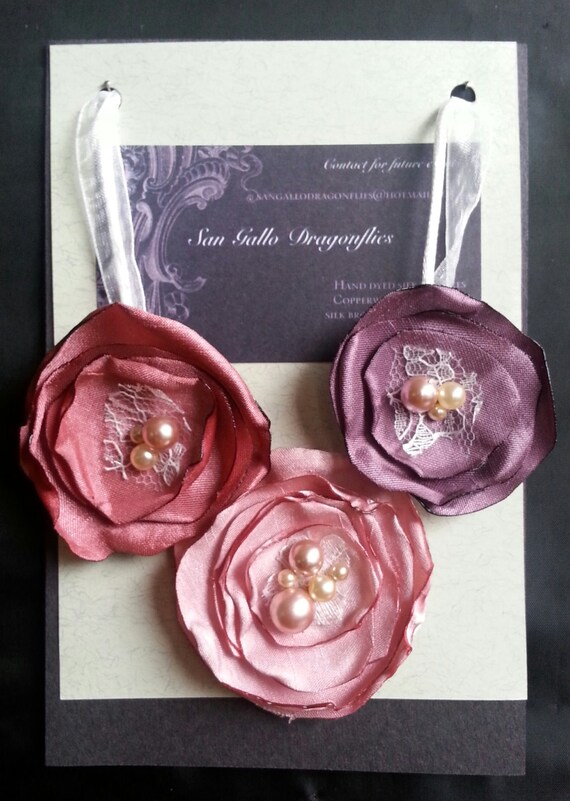
 Love her. And also my little girl who's been asking me for a necklace that isn't a toy. Silk flower necklaces like this one on etsy would work, but adding jewelry to my daughter's wardrobe world seemed complicated. So I came up with something versatile - a.k.a. she doesn't need a different one for each outfit. And also, there's the fact that I'm crazy about saving money and not having a ton of stuff to keep track of.
SO, I started hunting for the cheapest flowers that could be bought, already attached to alligator clips. The stars aligned for me when a Forever 21 opened in our very own mall. They sell sets like these for 1.80 or 2.80!
Then I was off to Hobby Lobby to get some ribbon that I'd use as the "chain." I could've used some I had at home except my first necklace is destined to be in our family portraits and I wanted to bring in some lavender.
When I got started, I had these supplies all lined up: ribbon, scissors, alligator clip flowers, pins, scrap of felt, adhesive velcro, needle, thread and (optional) button.

The biggest mystery to me was how to get the ribbon to lay nicely around my daughter's neck. And by nicely, I mean flat. I ended up pinching both corners and pinning them, like so...

My plan was to use the felt to stabilize my silky ribbon, so the flowers wouldn't be as likely to flip around or hang funny. I laid the pinned ribbon on my scrap of felt and marked around it where I thought I'd like my flowers. I put my pins through the felt so I could pick it up and cut it easily.

Then I tried on my flowers and cut off the felt where it was too long - would show past the flowers.

I took the flowers back off and stitched the felt to the ribbon. This is how you secure your pinched corners. If you are using less silky ribbon, you can skip the felt and sew the ribbon at the corners only.

Up to this point, I had simply pinned the ends of the ribbon together, where I wanted them to fasten at Cadence's neck. Now, I snipped a piece of velcro the width of the ribbon and attached it to the underside of the top ribbon. I'd suggest using the soft side of the velcro for this side, since it's more likely to come in contact with the wearer's skin. I didn't think of this until it was too late, so disregard that part of the example... The best part about the adhesive velcro is it won't allow your ribbon to fray and fray until your necklace has turned into a choker.


Here's the final product. Since this one doesn't lend itself to mixing and matching, I whipped up a second one that'll serve that purpose better. With the girlie away at school, who was to model it?! A candlestick stood in for her, but I hope to show pics of her wearing it soon. :)

The beauty of those alligator clips is I can switch out the colorful ones and reinvent it as often as I like. Or as often as I'm willing to spend 1.80 to get a new color or two!
Ribbon (50% off) 1.59
Flower sets 5.84
(both necklaces) 7.43
Granted, the cost goes up if you don't have the other stuff on hand, but you still get to custom make it for less than you'd pay on etsy. Win and win.

 Love her. And also my little girl who's been asking me for a necklace that isn't a toy. Silk flower necklaces like this one on etsy would work, but adding jewelry to my daughter's wardrobe world seemed complicated. So I came up with something versatile - a.k.a. she doesn't need a different one for each outfit. And also, there's the fact that I'm crazy about saving money and not having a ton of stuff to keep track of.
 SO, I started hunting for the cheapest flowers that could be bought, already attached to alligator clips. The stars aligned for me when a Forever 21 opened in our very own mall. They sell sets like these for 1.80 or 2.80!
Then I was off to Hobby Lobby to get some ribbon that I'd use as the "chain." I could've used some I had at home except my first necklace is destined to be in our family portraits and I wanted to bring in some lavender.
When I got started, I had these supplies all lined up: ribbon, scissors, alligator clip flowers, pins, scrap of felt, adhesive velcro, needle, thread and (optional) button.

The biggest mystery to me was how to get the ribbon to lay nicely around my daughter's neck. And by nicely, I mean flat. I ended up pinching both corners and pinning them, like so...

My plan was to use the felt to stabilize my silky ribbon, so the flowers wouldn't be as likely to flip around or hang funny. I laid the pinned ribbon on my scrap of felt and marked around it where I thought I'd like my flowers. I put my pins through the felt so I could pick it up and cut it easily.

Then I tried on my flowers and cut off the felt where it was too long - would show past the flowers.

I took the flowers back off and stitched the felt to the ribbon. This is how you secure your pinched corners. If you are using less silky ribbon, you can skip the felt and sew the ribbon at the corners only.

Up to this point, I had simply pinned the ends of the ribbon together, where I wanted them to fasten at Cadence's neck. Now, I snipped a piece of velcro the width of the ribbon and attached it to the underside of the top ribbon. I'd suggest using the soft side of the velcro for this side, since it's more likely to come in contact with the wearer's skin. I didn't think of this until it was too late, so disregard that part of the example... The best part about the adhesive velcro is it won't allow your ribbon to fray and fray until your necklace has turned into a choker.

If you'd like to stop there, your necklace will work, but if you want to make it look like a button is actually holding things together, you can sew one on. The only downside to this is the needle gets gummy when it goes through the adhesive, so be sure and run it through some normal fabric a couple times before putting it away. Mine cleaned right off.

Here's the final product. Since this one doesn't lend itself to mixing and matching, I whipped up a second one that'll serve that purpose better. With the girlie away at school, who was to model it?! A candlestick stood in for her, but I hope to show pics of her wearing it soon. :)

The beauty of those alligator clips is I can switch out the colorful ones and reinvent it as often as I like. Or as often as I'm willing to spend 1.80 to get a new color or two!
Total cost:
Ribbon (50% off) 1.59
Flower sets 5.84
(both necklaces) 7.43
Granted, the cost goes up if you don't have the other stuff on hand, but you still get to custom make it for less than you'd pay on etsy. Win and win.


Comments
Post a Comment